Tuesday, November 26, 2013

Eden Hollow Has Two New Bucks!

Even though Pal, my former buck, was a great start to Eden Hollow, it was time to upgrade and bring in some fresh bloodlines.  So Pal has moved on "greener pastures" and Eden Hollow now has two great new herdsires!

This black buck is Fairlea Jean-Christophe.  I just call him "Chris".  In addition to Fairlea, his lineage includes Caesar's Villa and Rosasharn.  He is very level and correct and throws rather elegant kids.


This buckling is Helderberg MO Over the Moon, whom we call "Tickle".  I love his crazy moon spots! I can't wait to see the kids he produces. He has an amazing performance pedigree too -- Chenango-Hills, Rosasharn, some Twin Creeks and Doe-Sy-Doe too.  His great-great grandam is Chenango-Hills IP Goddess who has ranked multiple times in the DHIA national top ten.  See: http://www.chenangohills.com/ for more details


He is bred to Emma for February kids and Amber for May kids!

Meet the Newest Babies!

On July 27th, Edee quickly and easily gave birth to a doe and a buck. Meet Adam (black and white) and Eve (tri-color)!  These babies were destined to go to the Bell family even before they were born.  Adam was wethered to be a companion to his sister, who will one day, be their family milker.  Lucky for me, the Bell's only live a few miles from me, so I get to visit Adam and Eve whenever I want!


Monday, June 17, 2013

I Caught a Swarm!

There was a swarm of bees in one of our trees this morning.

I have a feeling one of my hives is responsible for this because I saw several supercedure cells on my last hive inspection.

At least they landed on the lowest branch of the tree so they were very easy to capture.  I could either start a new hive with them or find another beekeeper who might be interested in it.  Since I didn't have any extra hives ready, my beekeeping mentor found someone who wanted it.


 So I just opened up my nifty beekeeping tool box, which doubles as a swarm catcher, and gave the branch a good couple of shakes over the box.


And in they went.  They are off to their new home this evening!

Sunday, June 16, 2013

Rotational Pasture Complete!


I've finally completed cross fencing the pasture area so that the does and buck(s) each have two pasture areas to rotate between. Luckily I've never had a parasite load and the goats have never tested positive for worms of any kind. And I sure would like to keep it that way.


Rotational Grazing Plan - click to enlarge

Hence, the installation of rotational grazing. Apparently parasites can only survive 1 month without a host, so every 30 days the goats will rotate pastures. Not only does it greatly reduce the chance of infestation, the pasture gets to rest and isn't over grazed. I'm also going to take this opportunity to improve the pasture areas by sowing high quality forage for them. I'm hoping all this effort will result in happy, healthy goats and lowered feed costs.

Actually I tried to do this last year with electric fencing. Despite 5 strands of electrified wire, they never learned to respect the electric fence. So this year I put in cattle panels to keep everyone where they belong. No unplanned breedings for me!


Thursday, June 13, 2013

Ricky finds a new home...

With a heavy heart I bid farewell to my sweet little Ricky.

Eden Hollow Ricky
He has gone to sire a new herd with a fine lady named Tish.  He will have many new girls to befriend at his new home.  (Lucky boy!)  But he will be missed around here...

Tuesday, June 11, 2013

New Barn Cats!

What is it about hay and grain that shouts "Mouse Hotel Now Open For Business"? So, we now have two new employees at the Mouse Hotel, errr, I mean Eden Hollow. 

Introducing... Tom and Jerry!


Tom and Jerry are very good at their job... mouse guests can check in, but they never leave! How are these two new employees paid, you ask? Fresh, warm goat milk, of course!

Thursday, June 6, 2013

Eden Hollow...The Land of Milk AND Honey

In an attempt to expand my homesteading skills,
I'm now keeping bees! 


 (April) I have my hives all assembled, painted and almost ready for the bees

 It all began with a very sweet hubby who apparently really does listen to everything I have to say!  (Who knew!) One day, I was just kind of talking out loud and I said something like, "Wouldn't it be neat to keep bees so we could have our own honey and beeswax?".  Well, that's all it took and under the Christmas tree I found a beautiful new bee hive, veil, gloves and smoker. Most girls want spa days, jewelry and such.  Not me.  I want bees. Call me crazy.

So, at this point I realized my out loud thinking had just become a reality and in reality I knew absolutely NOTHING about keeping bees.  I found a free beginners bee keeping class through the local bee keeping club and co-op extension and learned that bees, like goats, do better in multiples.  Apparently, much like socialism (don't even get me started on THAT topic), a bee keeper must sometimes steal from the rich (hive) and give to the poor (hive), and everyone is the better for it.  Hmmm.   Well, long story short, that's how I ended up with two hives...

In mid May the two Nucs I ordered arrived and with the help of my mentor, they were installed in their new homes.  I will admit, I was very nervous working around the bees for the first time.  I had to keep reminding myself, "Don't freak out, just BREATHE!" 

The other day I went out to fill their feeders and I saw them literally dripping from the hives.  I did a quick search for the cause of this interesting bee-havior (sorry, couldn't help myself) and this is called "bearding".  Can you see how they were forming a "beard" at the hive entrance?  Apparently, this means they were hot and needed a little more ventilation. 


I did a hive inspection yesterday and all seems well.  They were filling up their first hive body nicely and were ready for a second hive body.  Later this summer, if all goes well, I'll add a honey super or two and hopefully harvest a little bit o'honey!  Fingers crossed!

A Loooong Overdue Update On My Broody Buttercup

I don't know what happened with me keeping this little blog up.  Chalk it up to an Epic Fail!  But I don't give up easily, so I'm gonna give it another try. 

Anyhoo, let's get back to Miss Broody Buttercup.  I let her try to brooding a clutch of eggs back in January, but nobody hatched :(  I don't know who was more disappointed, me or Buttercup.  That silly chicken really wanted to be a momma and was very reluctant to stop brooding, even after 45 days.  After I was sure nobody was going to hatch, I reluctantly opened the eggs.  All had developed to about the 2 week mark, but had died after that.  I think it was just too cold, despite a very dedicated wanna be mamma.  

Like me, Miss Buttercup doesn't give up easily and come spring, she was back at it.  I gave her 10 eggs to sit on and exactly 21 days later 11 chicks hatched.  No, that wasn't a typo... I gave her 10 and 11 chicks hatched.  I was pretty certain I counted correctly, so I can only guess I had a little "helper" slip her an extra egg when I wasn't looking.  Anyway, I'm just so impressed that she went from a 0% success rate to a 100% success rate! 


Oh boy, is she a happy hen now.


Wednesday, January 23, 2013

Uh Oh - I've Got a Broody!

Meet Buttercup.  Buttercup is a special chicken. 


Despite having both wings clipped in an effort to keep her safe in the fenced in chicken run, she somehow manages to get out each and every day. She's just so darn friendly, she just has to get out to come say hello.

 
Well, I've long come to terms with the fact that Miss Buttercup is a loner, a rebel.  She does what she wants and goes where she wants whenever she wants!  So it comes as no surprise (to me) that she has decided to go broody -- in JANUARY! Yes, it has been verrrrry coooold lately.  Today, we are looking at a high of 3 degrees.  That's not even counting the wind chill, and boy is it a blow'in. Brrrrr!
 
 
Now I've been hoping a hen would want to be a momma ever since I started keeping chickens.  I no longer wish to buy chicks or incubate.  I've had Barred Rocks, Speckled Sussex and Silkies -- all breeds that were supposed to be broody, but nobody would cooperate! So this last summer I decided to give Buff Orphingtons a try.  Guess I finally got the breed right.  I just wish Miss Buttercup had gotten the season right!


So now, I have to decide if I should try to break her broody, because it is going to be very difficult for her to keep those eggs and (hopefully) chicks warm.  I have no intentions of bringing her into the house.  (Been there, done that.)  But I've been wanting to do this for soooooo looooong.  So, I guess I'm gonna let her try.  Who knows, maybe we'll have some chicks on Valentine's Day!


Save the Whey!

No, I'm not advocating saving some exoctic, endangered species that you've never heard of.  I'm just say'in next time you make cheese, don't throw out the whey!  Why not?  'Cause you can use it to make more cheese -- ricotta!  Yep, ricotta cheese is made from the leftovers. 


Making ricotta is super simple.  Here's how:
 
Heat 1.5 quarts whey to 195 degrees.  Slowly add in 1 quart whole milk and bring temp back up to 195 degrees.  Stir, stir, stir until you see small clumps.  Then pour whey/milk into a cheese cloth lined colander.  Bring the sides of the cheese cloth up to make a little bag.  Hang bag for about an hour, or until it stops dripping.  Put cheese into a container and add some salt to taste. 
 
Congratulations! You just made ricotta cheese!  See, I told you it was easy...

Wednesday, January 9, 2013

Making Yogurt is Soooooo Easy!

I just made my first batch of yogurt and it is sooooo easy to make, that I'm kicking myself for not doing it sooner!  Very often people just don't understand why I make my own bread, build my own furniture, grow such a big garden and milk my own goats when it's so much easier to just buy it at the store.  Oftentimes, I do have to admit that it is much easier to just run to the store and get what you need, but I have my reasons for DIY (I'll save that discussion for another post).  But when it comes to making vs. buying yogurt, that argument just doesn't hold water!


I wanted to make raw milk yogurt to get the benefits of enzymatic and probiotic components of fresh raw milk and fermentation in one glorious, creamy, lovely food.  I also used my Excalibur Food Dehydrator to incubate the yogurt.

Ingredients

  • 1 quart raw milk
  • 2 tbsp starter OR 2 tbsp yogurt from a previous batch OR 2 tbsp plain, unsweetened, additive-free yogurt with live active cultures found at any grocery store

Instructions

  1. Heat milk to 110° Fahrenheit. (Don't heat any higher or the food enzymes and naturally occurring beneficial bacteria will be killed.)
  2. Remove from heat and whisk in starter culture or yogurt.
  3. Pour the mixture of starter and raw milk into a 1-quart glass mason jar and put on a lid.
  4. Place the mason jar into the food dehydrator, set the temperature to 110° Fahrenheit and allow it to culture for eight to twelve hours.
  5. Once the culturing period is complete, place it in the refrigerator to chill and solidify.

Yep -- it's that easy, and delicious! 

Now, do me a favor and see if you can pronounce half the ingredients in your store bought yogurt. Didn't think so.  Now that you know how easy it is to make your own yogurt with ingredients you actually know and can pronouce, what are you waiting for?

Sunday, January 6, 2013

Making Goat's Milk Mozzerella

Now that I have lots of fresh, organic milk to use, I decided to try my hand at making cheese.  I chose to start with mozzerella, because it's (supposedly) easy to make and I figured I'd have the best luck getting my kids to eat it (think pizza or mozz cheese stix)!

I started with the cheese making kit I purchased from Hoegger Supply Company.  It had all the supplies, ingrediants and recipes I would need to get started. 


I also incorporated some info I gleaned from 5 Acres and a Dream, because she uses goat's milk, whereas the recipes in "A Cheesemaker's Journey" were made for cows milk. 

So here are the supplies I used:
    - liquid rennet
    - citric acid powder
    - colander
    - long slotted spoon
    - 2 wooden spoons
    - long knife
    - whisk
    - thermometer
    - large stainless steel pot (not shown)


Start by mixing 1 1/4 teaspoons of citric acid powder into 1/4 cup of cool water.  Add this to your cool milk in the large stainless steel pot.  Bring the temperature of the milk to 88 degrees and then remove it from heat.  Then mix the rennet into another 1/4 cup cool water and stir into the milk.


My recipe book said to wait 15 minutes for it to coagulate.  But the sources I found for goat's milk said to wait 30 minutes, so that's what I did.  Once it has coagulated enough, use your long knife to cut the curds into 1 inch cubes.  Now let it rest for 10 more minutes. 


For me, this next step was the trickiest part.  You are supposed to slowly bring the temperature of the curds up to 108 degrees and hold the temp there for 35 minutes.  Unfortunately, I have an electric stove and found it very difficult to hold the temperature steady for the whole time.  I would think I had it at 108 degrees, then I'd check it again a minute or so later and the temp had shot up to 120 degrees.  If anyone has suggestions on this part, please feel free to chime in!  During this step, you are also supposed to gently stir the curds every 5-10 minutes to keep them from sticking together.

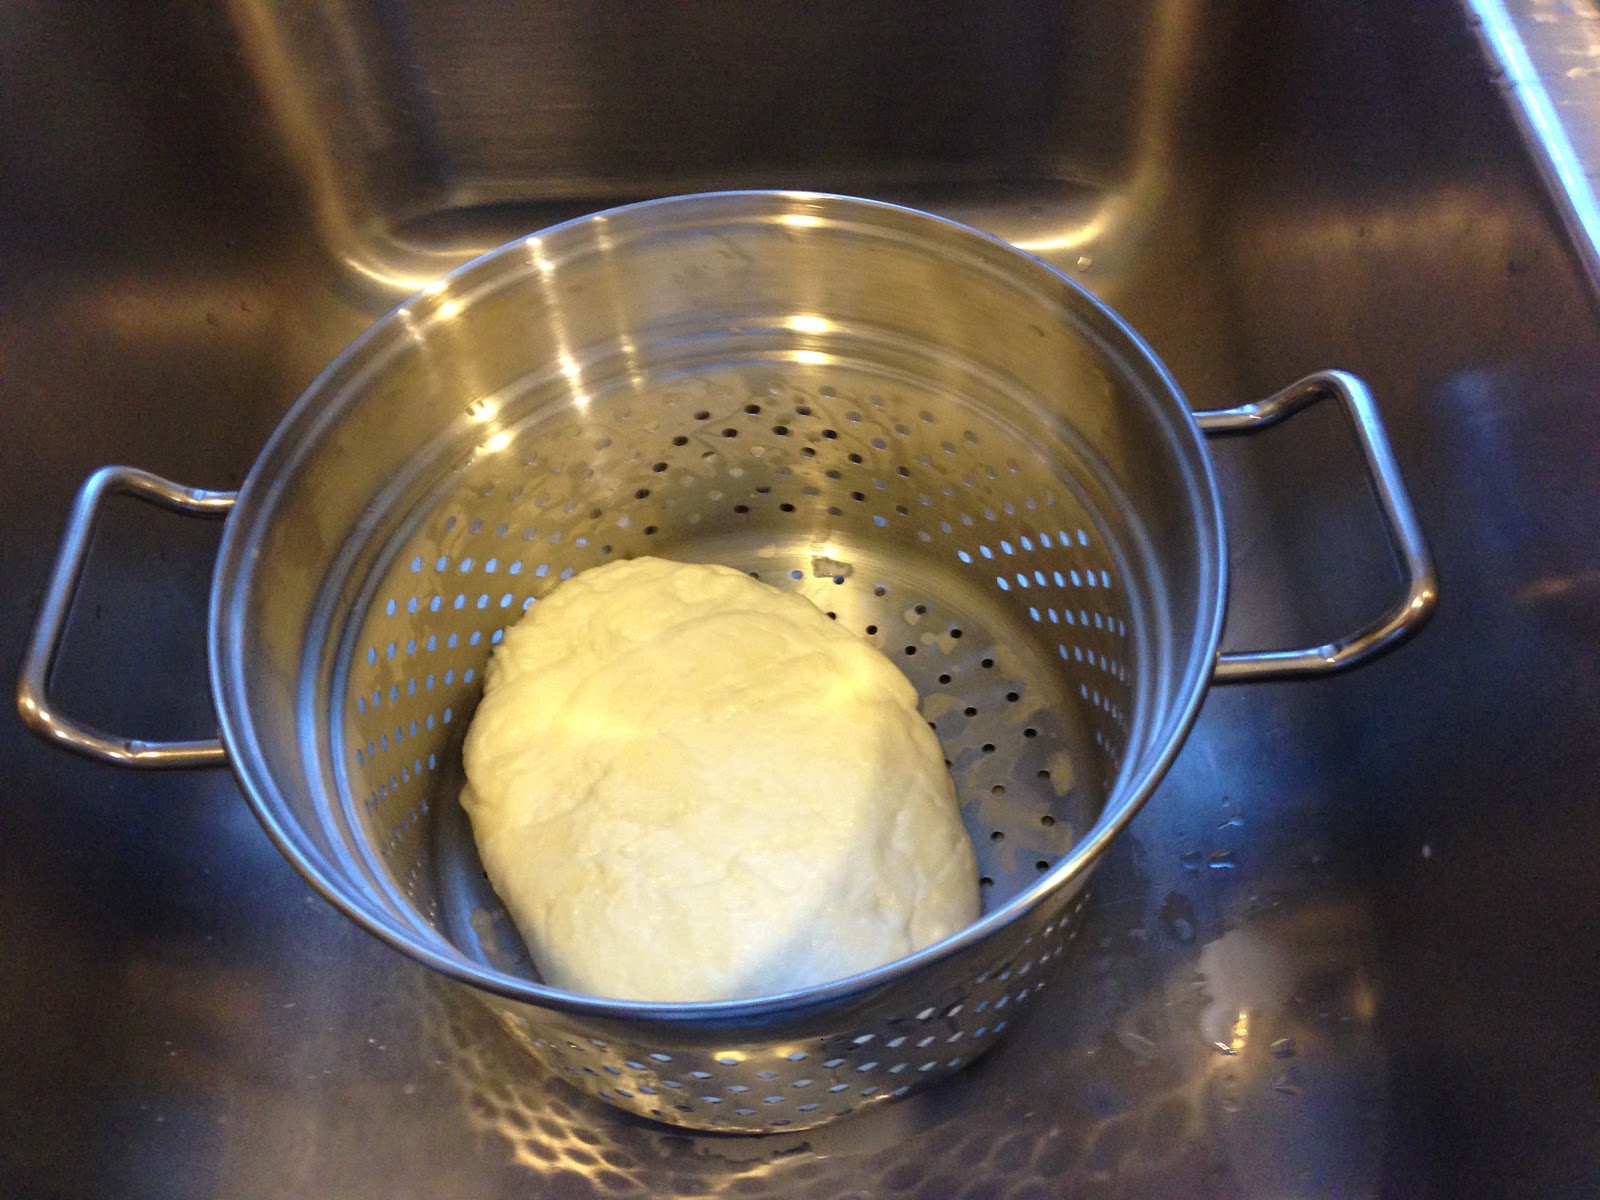
Next, it's time to drain the curds in a colander for 15 minutes.

Once drained, cut the curds into 1 inch pieces and place in a large bowl.  Pour hot water (140 degrees) over curds.  Using the two wooden spoons, stretch the curds until smooth and glossy and you can shape them into a ball. (I didn't get a photo of this step as my hands were too full playing with the cheese)

Once shaped, place the ball into a brine solution made of 1/2 gallon warm water (100 degrees) and 1 1/2 cups kosher salt. Let it sit in the brine for 2 hours, turning occasionally.  Finally, remove cheese from the brine, pat dry, cover and let it sit in the fridge overnight to let the salt fully permeate the cheese. 
 

Since I knew I was going to use my mozzerella for pizzas, I decided to shred it all.  We used about half for a pizza tonight, then I froze the other half for pizza later!  Yum.  It was delicious!